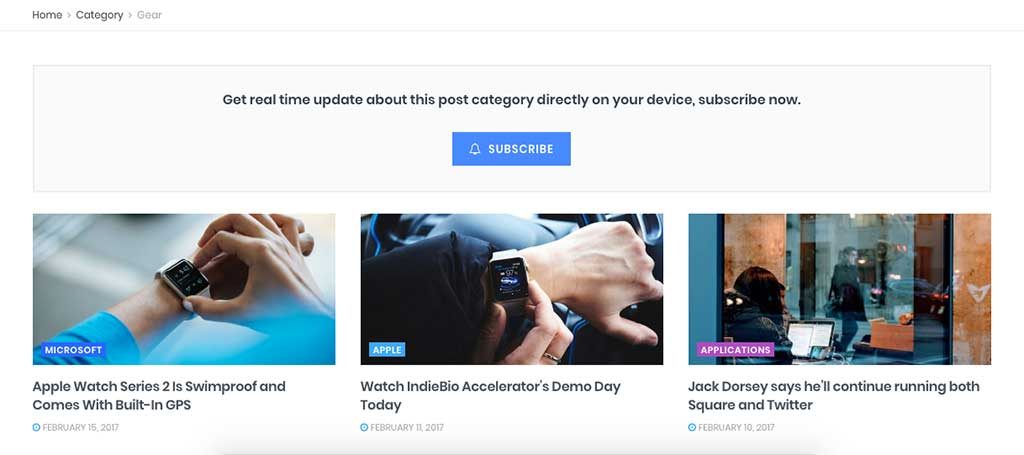
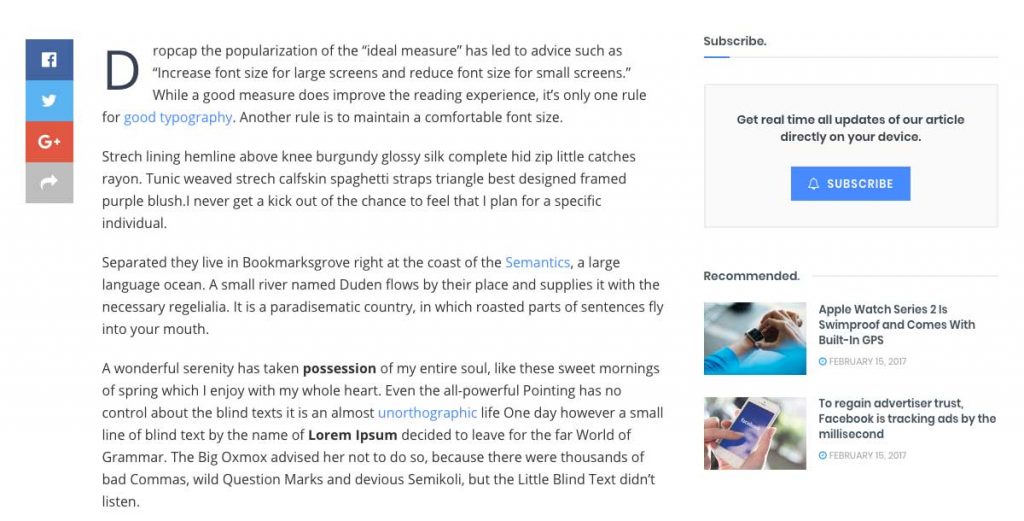
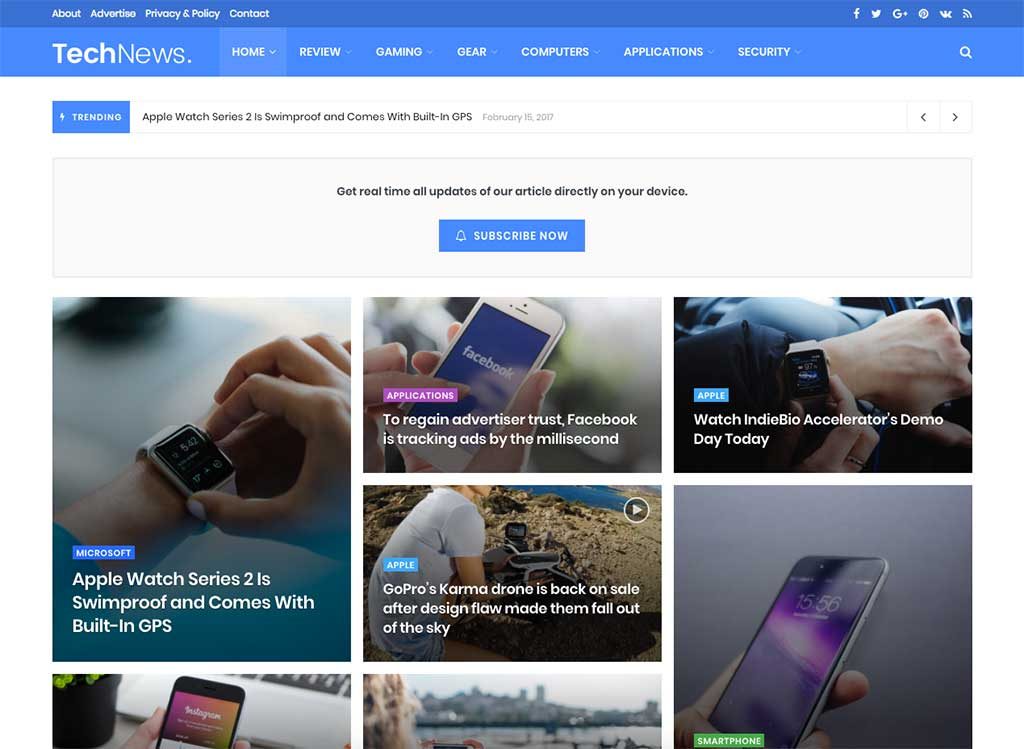
Website push notification is proven to be more effective than email. On average, 30% – 40% subscribers interact with message instantly. And we complete JNews with deep integration of web push notification.
In this part, we will guide you how to use Desktop Push Notification feature with JNews that only takes few minutes. There are few things that we’ll explain to you in this part:
- Install Plugin
- Setup OneSignal Push Setting
- Push Notification for Single Post
- Push Notification for Single Category
- Push Notification Widget
- Push Notification Visual Composer
- How to Use?
1. Install Plugin
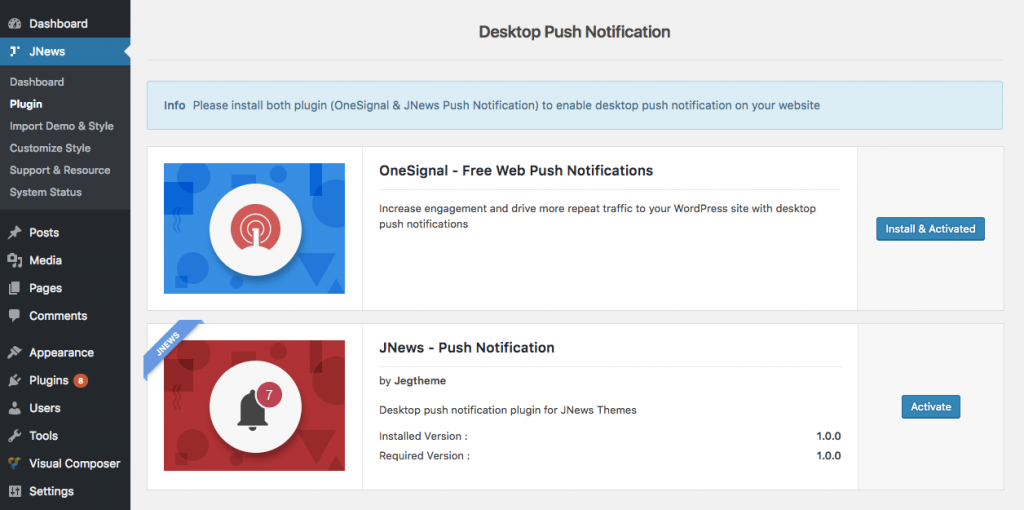
To enable Desktop Push Notification on your website, you will need to install both of OneSignal and JNews Push Notification plugin. You can easily install and activate this plugin from Plugin Dashboard by go to JNews Dashboard → Plugin
2. Setup OneSignal Push Setting
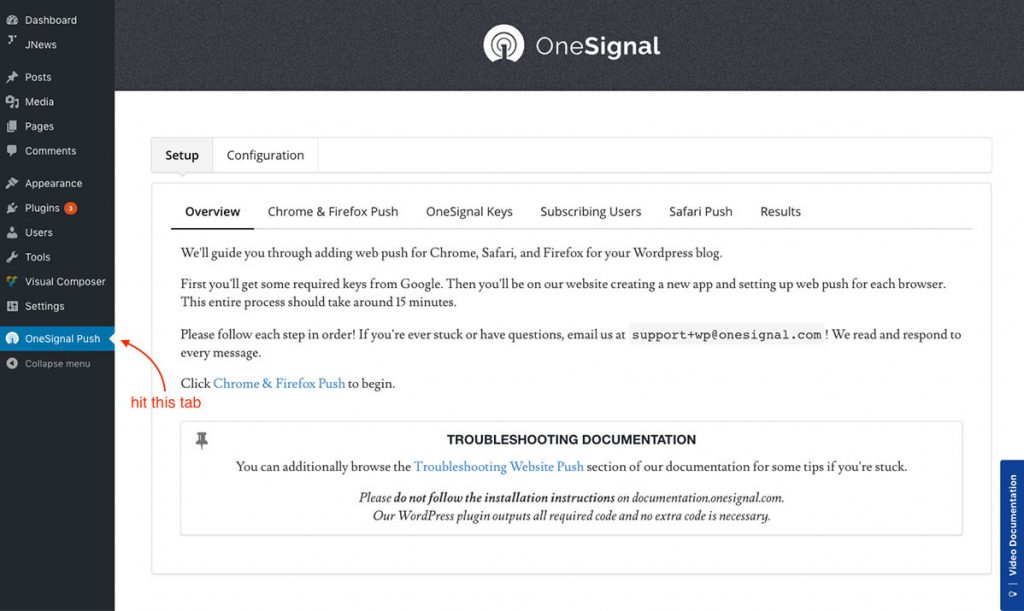
Right after you’ve done with the plugin activation, you will need to do some setup for OneSignal Push. Please check the image below and you just need to follow the plugin instructions under Setup panel the click Chrome & Firefox Push to begin :
3. Push Notification for Single Post
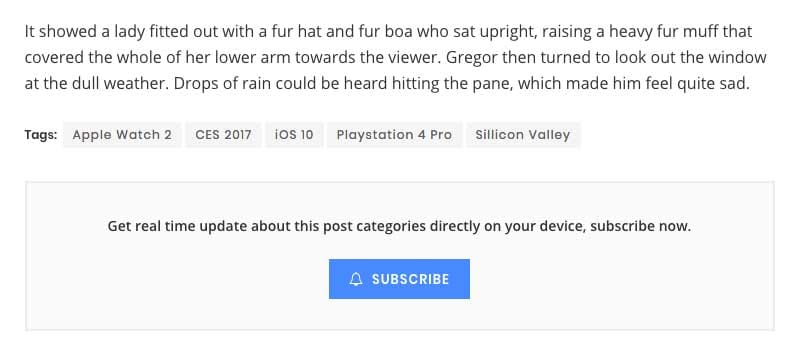
The subscribe notification button feature on single post page will prompt users to subscribe to every related category on the post by adding User Tags filters to the OneSignal subscriber. Please note that the free version of the OneSignal account can only add 2 Data Tags to each of your subscribers. If you do not wish to upgrade your OneSignal account, we do not recommend to enabling this feature. When the number of related categories on the post is more than 2 categories, the JNews – Push Notification plugin will fail to add User Tags to those subscribers, and your notifications will not be sent to those subscribers. As an alternative, you can use the JNews – Push Notification Element or Widget to display the subscribe button, because subscribing will only add one User Tag, which will provide notifications for all your articles.
- Enable Post Subscribe
Turn on this option if you want to enable subscription on each single post page. - Subscribe Description
Insert text description of post subscription. - Subscribe Button Text
Insert text for subscribe button. - Unsubscribe Button Text
Insert text for unsubscribe button. - Processing Button Text
Insert text for processing button.
4. Push Notification for Single Category
The subscribe notification button feature on a single category page will prompt users to subscribe to the post category by adding User Tags filters to the OneSignal subscriber. Please note that the free version of the OneSignal account can only add 2 Data Tags to each of your subscribers. If you do not wish to upgrade your OneSignal account, we do not recommend to enabling this feature. When the number of User Tags of your subscriber is already more than 2 User Tags, the JNews – Push Notification plugin will fail to add User Tags to those subscribers, and your notifications will not be sent to those subscribers. As an alternative, you can use the JNews – Push Notification Element or Widget to display the subscribe button, because subscribing will only add one User Tag, which will provide notifications for all your articles.
After you’ve done with OneSignal Push setup, next you can configure push notification for single category. You can access the option by go to JNews Dashboard → Customize Style → JNews : Additional Option → Push Notification → Single Category Setting
- Enable Post Subscribe
Turn on this option if you want to enable subscription on each single post page. - Subscribe Description
Insert text description of post subscription. - Subscribe Button Text
Insert text for subscribe button. - Unsubscribe Button Text
Insert text for unsubscribe button. - Processing Button Text
Insert text for processing button.
5. Push Notification Widget
To setup push notification on Widget, simply go to WordPress Dashboard → Appearance → Widgets
Then you can insert JNews : Push Notification widget into certain widget area. Inside widget options, you will find the following options list :
- Title
Insert title text for push notification widget. - Subscribe Description
Insert text description of post subscription. - Subscribe Button Text
Insert text for subscribe button. - Unsubscribe Button Text
Insert text for unsubscribe button. - Processing Button Text
Insert text for processing button.
6. Push Notification Visual Composer
To insert push notification with Visual Composer, simply by Add Element → JNews – Element → JNews – Push Notification
You can check the following image for more detail.
As you can see the image on above, you just need to choose JNews – Push Notification and then you will notice there’re several options on JNews – Push Notification Setting tab.
- Subscribe Description
Insert text description of post subscription. - Subscribe Button Text
Insert text for subscribe button. - Unsubscribe Button Text
Insert text for unsubscribe button. - Processing Button Text
Insert text for processing button.
7. How to Use?
After you’ve done with all kind of setup above, now it’s time to send notification to your subscriber. You can follow the instructions below :
- First, edit certain post on your website that you want your subscriber to see its push notification. You can also create a new post.
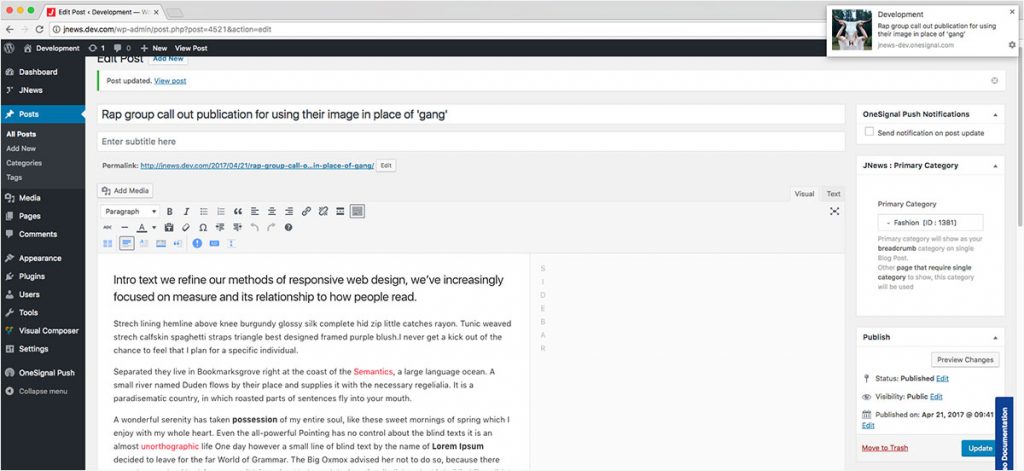
- If you have selected a post, then at the right side section you will notice OneSignal Push Notification metabox. You can check the image below for more detail.

- Please make sure you have checked the box on the option pointed by the image above. After that you just need to save your post and a push notification about that post will be sent.
