This themes heavily use built in wordpress media uploader for all uploading, select file (image, video, or mp3 file) instead of using other uploading technique. This section will guide you how to use WordPress Media Uploader.
On serveral page, you will see input box like this :
And when you click Select File, you will see WordPress Media Uploader box. With Media Uploader, you able to :
- Uploader File (Image, music, video, etc)
- Select file from uploaded file
- Delete file from media library
- And if you on a post page / custom post type page, you also able to access gallery from those post.
Uploading file using WordPress Media Uploader & Access Gallery
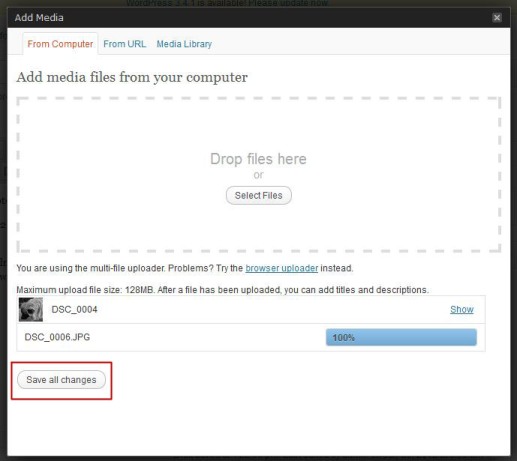
Uploading file using wordpress media uploader is very straightforward. You can Upload only one file, or more by just Drag & Drop file, or Locate file from your computer.
If you click save change, normally (if you on post / custom post page) you will find new Gallery tab on top of media uploader. And when you click on gallery, you will shown gallery corresponding with post.
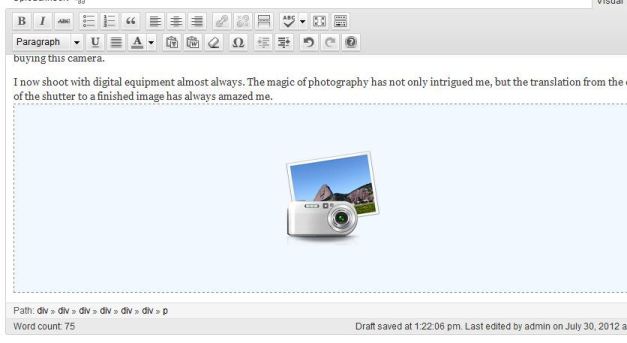
Click insert gallery, will bring Media Uploader Gallery closed, you will see new / updated gallery block inside content post box like image below.
Select file from uploaded file
On several case, you have been upload file to your server. You don’t need to upload again to get the file. You can use media library to get file that you want to use.
Click Select File to open WordPress Media Uploader.
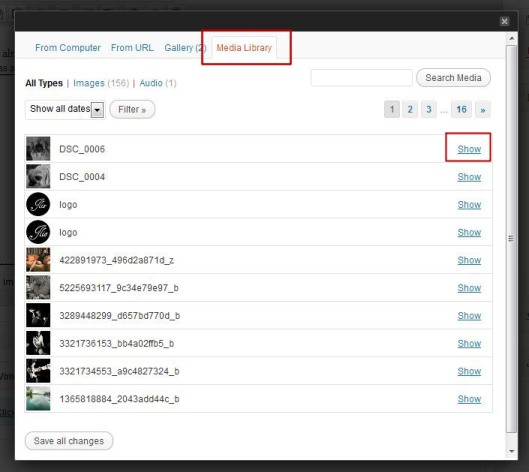
Click Media Library tab, and you will get list of file you have been uploaded. Choose file you want to insert, and click Show.
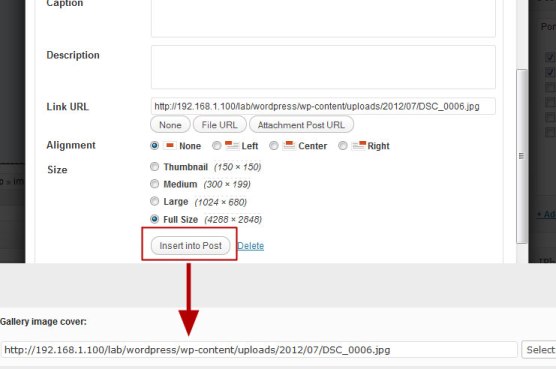
Click Insert into Post will bring file location into input text.


