Installing Epic Gallery Plugin is quite easy. Basically installing this plugin is almost the same as installing other plugins. This part will guide you on how to install Epic Gallery Plugin for a few minutes only.
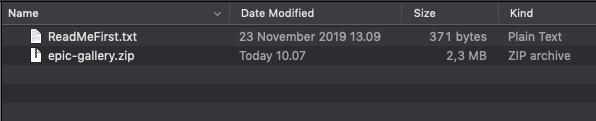
After downloading the Epic Gallery Plugin package from Codecanyon you need to extract those files, and then you will find a zip file with name epic-gallery.zip.
But if you choose to download the “installable WordPress file only“, you don’t need to extract that file.
This is the main file of the Epic Gallery Plugin.
Installation via WordPress
- Go to Appearance → Plugins on your WordPress Admin Dashboard.
- Click the Add New button at the top of the page and then choose Upload Plugin option.
- After that upload file epic-gallery.zip (look at the image above) and click Install Now button.
- If the upload process has finished, click the Activate button.
Install via FTP
- Login into your FTP client.
- Then access wp-content/plugins/ directory on your host web server.
- After that browse to find the epic-gallery.zip file (look at the image above) and unzip the file.
- Upload the epic-gallery folder into wp-content/plugins/ directory.
- After uploading process finishes, go to your WordPress Admin Dashboard → Appearance → Plugins and hit the Activate button.
Right after finishing Epic Gallery Plugin activation, please activate your plugin license to receive all benefits from Epic Gallery Plugin such as plugin updates, premium support service and unlock all other features.
Please follow this link for more detail information.