Begin Install WordPress
This section contains a short walkthrough of WordPress installation. This part is useful if you are installing WordPress theme for the first time. Before starting, make sure that you have a server that supports PHP and enables access to MySQL databases.
If you don’t have WordPress, you can download it first from http://wordpress.org/download/
After downloading WordPress, extract the file and you will get a folder named wordpress. Upload all files from this folder to your hosting server. You will need FTP credential and FTP Client for uploading WordPress. Contact your hosting provider for your site FTP credential and If you don’t have FTP client, you can download it here.
Before buying any hosting server, you need to make sure that your hosting is able to host WordPress. We recommend you to check PHP & MySQL version where you host your website. The latest version of them will be better.
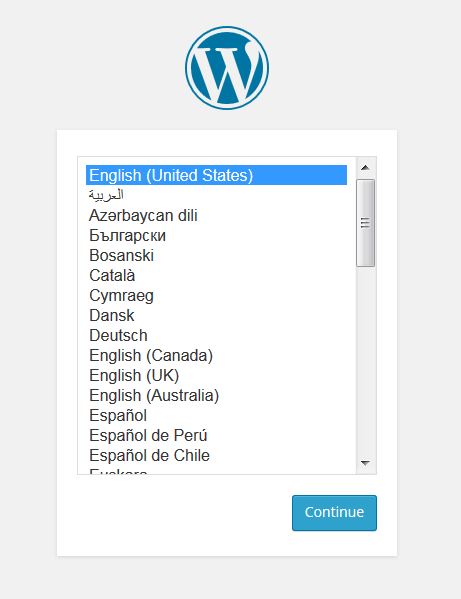
After finish uploading WordPress to your hosting, now try to access your website URL from your browser. At the beginning, you will see WordPress asking for WordPress language that you will use for your site.
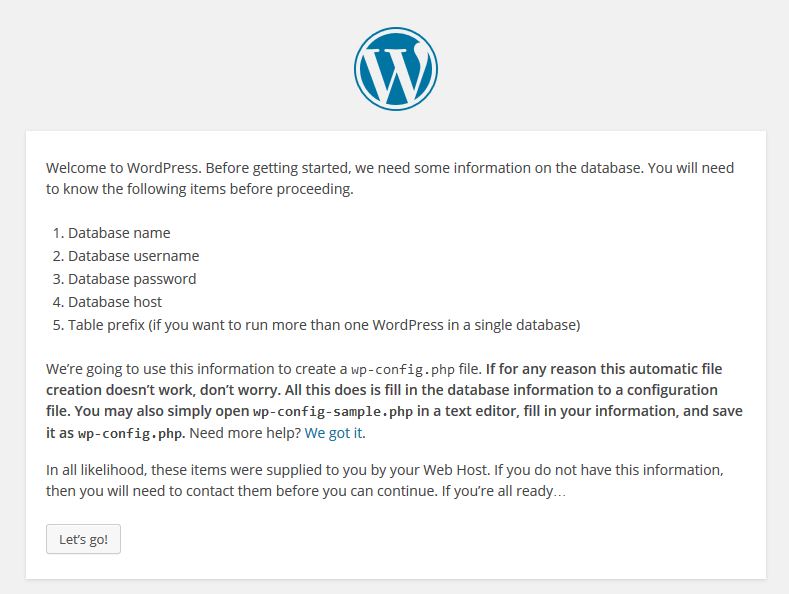
After clicking continue, WordPress will ask you to prepare your database details.
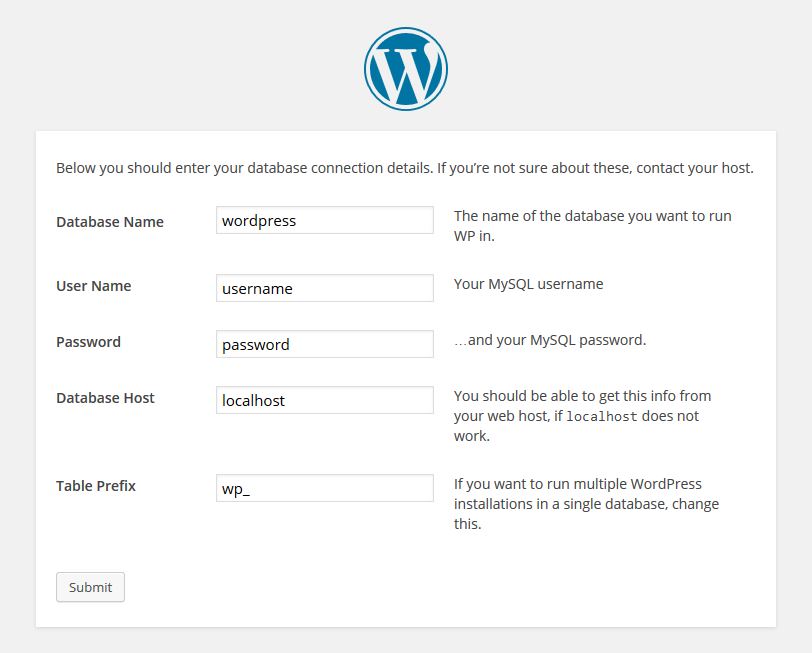
Now, you will need to input every detail that WordPress asks about your database. If you still don’t understand what these are, you can ask your server / hosting administrator about the details you need.
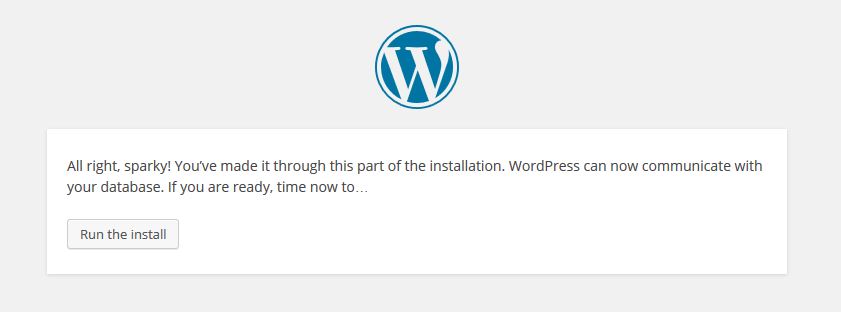
Once you provide the required details that WordPress understand, you will see this screen.
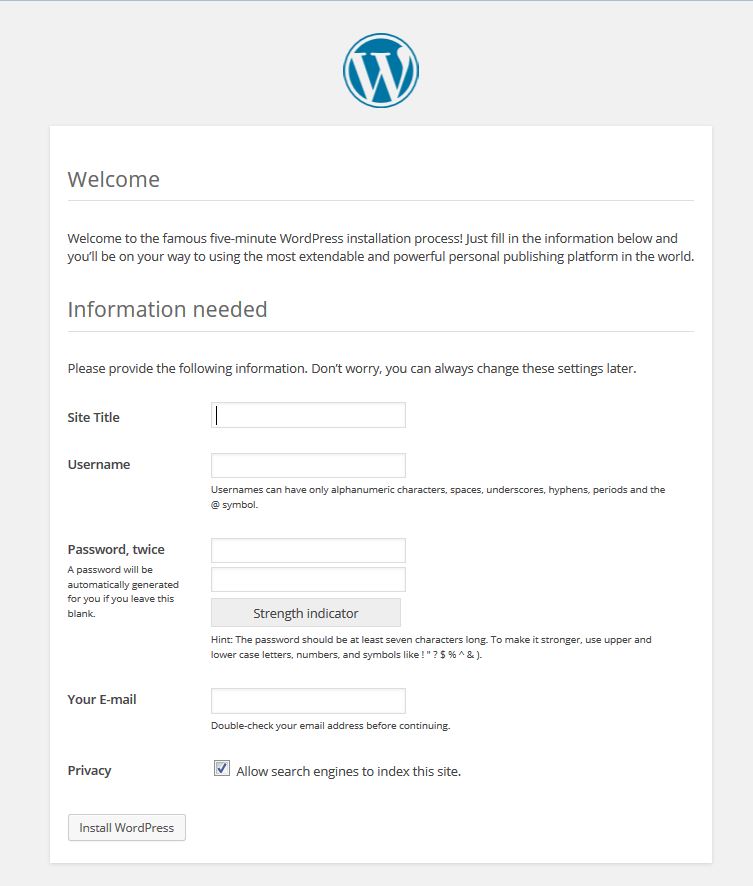
Next, click Run the Install, you will be asked to fill your site information (Site Title, Username, Password, etc), these details can be changed later.
Logging in into admin panel
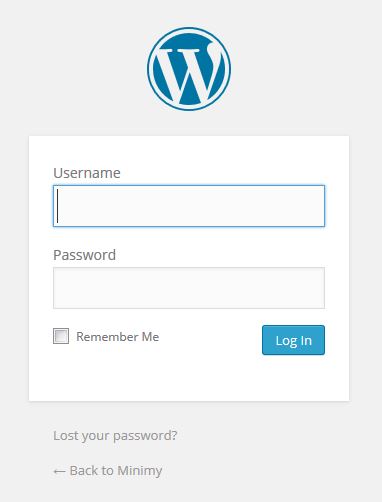
After you finish the installation process, you can login to admin page with username and password that you have entered before. Point your browser url to http://yourdomain.com/wp-admin/
Further Reading
This is only a short guide for installing WordPress. You can find more complete installation guide from WordPress itself by following this link.

